Isn’t it fun, once in a while, not to have everything planned out before you start a new project? That’s the way it was with the 3-part workshop I signed up for with Dwayne Wanner. He has developed a loosely structured set of guidelines to shepherd you through his “Abstract Expressionist Quilt Project”.
I was fortunate to be able to find a weekend course being held at the Etobicoke Quilters Guild, where my sister is a member. I am endlessly frustrated by my own guild’s insistence on scheduling workshops during the workweek.
Part one of the workshop consisted of exploring the styles of abstract expressionist painters such as Jackson Pollock, Jean-Paul Riopelle, Paul Klee and the Painters Eleven. Dwayne encouraged us to look at these paintings and visualize them made with fabric. Using both the Internet and library books, I studied the technique in the weeks leading up to the first session.
Then it was time to make our colour choices. Dwayne encouraged us to experiment the split-complementary scheme, which includes strong contrast that is toned down by using the colours that are adjacent the colour that is complementary to the main colour. Have I lost you yet?
For someone who usually relies on instinct for her colour choices, it was a challenge for me to consult the colour wheel and make selections based on that, but I went to my stash and tried my best. For this project, fabrics that read as solid are best – no large prints.
Our second task was to construct what Dwayne calls an “inventory” of blocks. What fun combining the fabrics into blocks and strips, knowing in advance that they would be sliced, diced and put together later, but not being able to envision the end result.
Floating squares, skinny strips, wonky strips, etc. all came together, as Dwayne exhorted us to imagine the artist splashing paint randomly on a large canvas.

Slicing a curved line in advance of sewing two sections together
One interesting trick I learned was how to match up two sections, by laying them on top of each other (both face up), just overlapping enough to cut through with the rotary cutter, in a slightly curved line. [photo]
Then, after discarding the cut pieces, you flip one piece over so that right sides are together, and sew them together. Sounds simple but I don’t think I would have thought of that myself.
Dwayne’s approach is best described, I think, as freestyle. “Pins are for sissies,” he says. I must say things move faster when you aren’t concerned with measuring and matching things precisely. And the resulting creation is truly one-of-a-kind.
Most of the quilts produced in this class, therefore, resulted in an irregular shape, and so the question was asked – how are we going to finish the edges? Dwayne explained various methods, one being the “pillow-case” method. But I chose the option to make “facing”. You make binding as per usual, but turn all of it to the back, rather than just half of it. Pretty simple and effective, when the edge of your piece is uneven.
While our sewing machines hummed, Dwayne supplied an eclectic assortment of background music, ranging from opera to the Gypsy Kings, to keep our creative juices flowing. And, I suspect, to cut down on the chitchat. He had us on a schedule, which contributed to the appeal of this workshop. All the students were confident that they would actually finish something at the end of the three sessions.

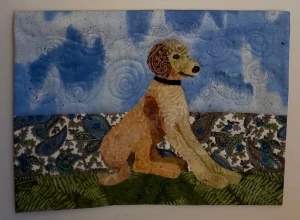
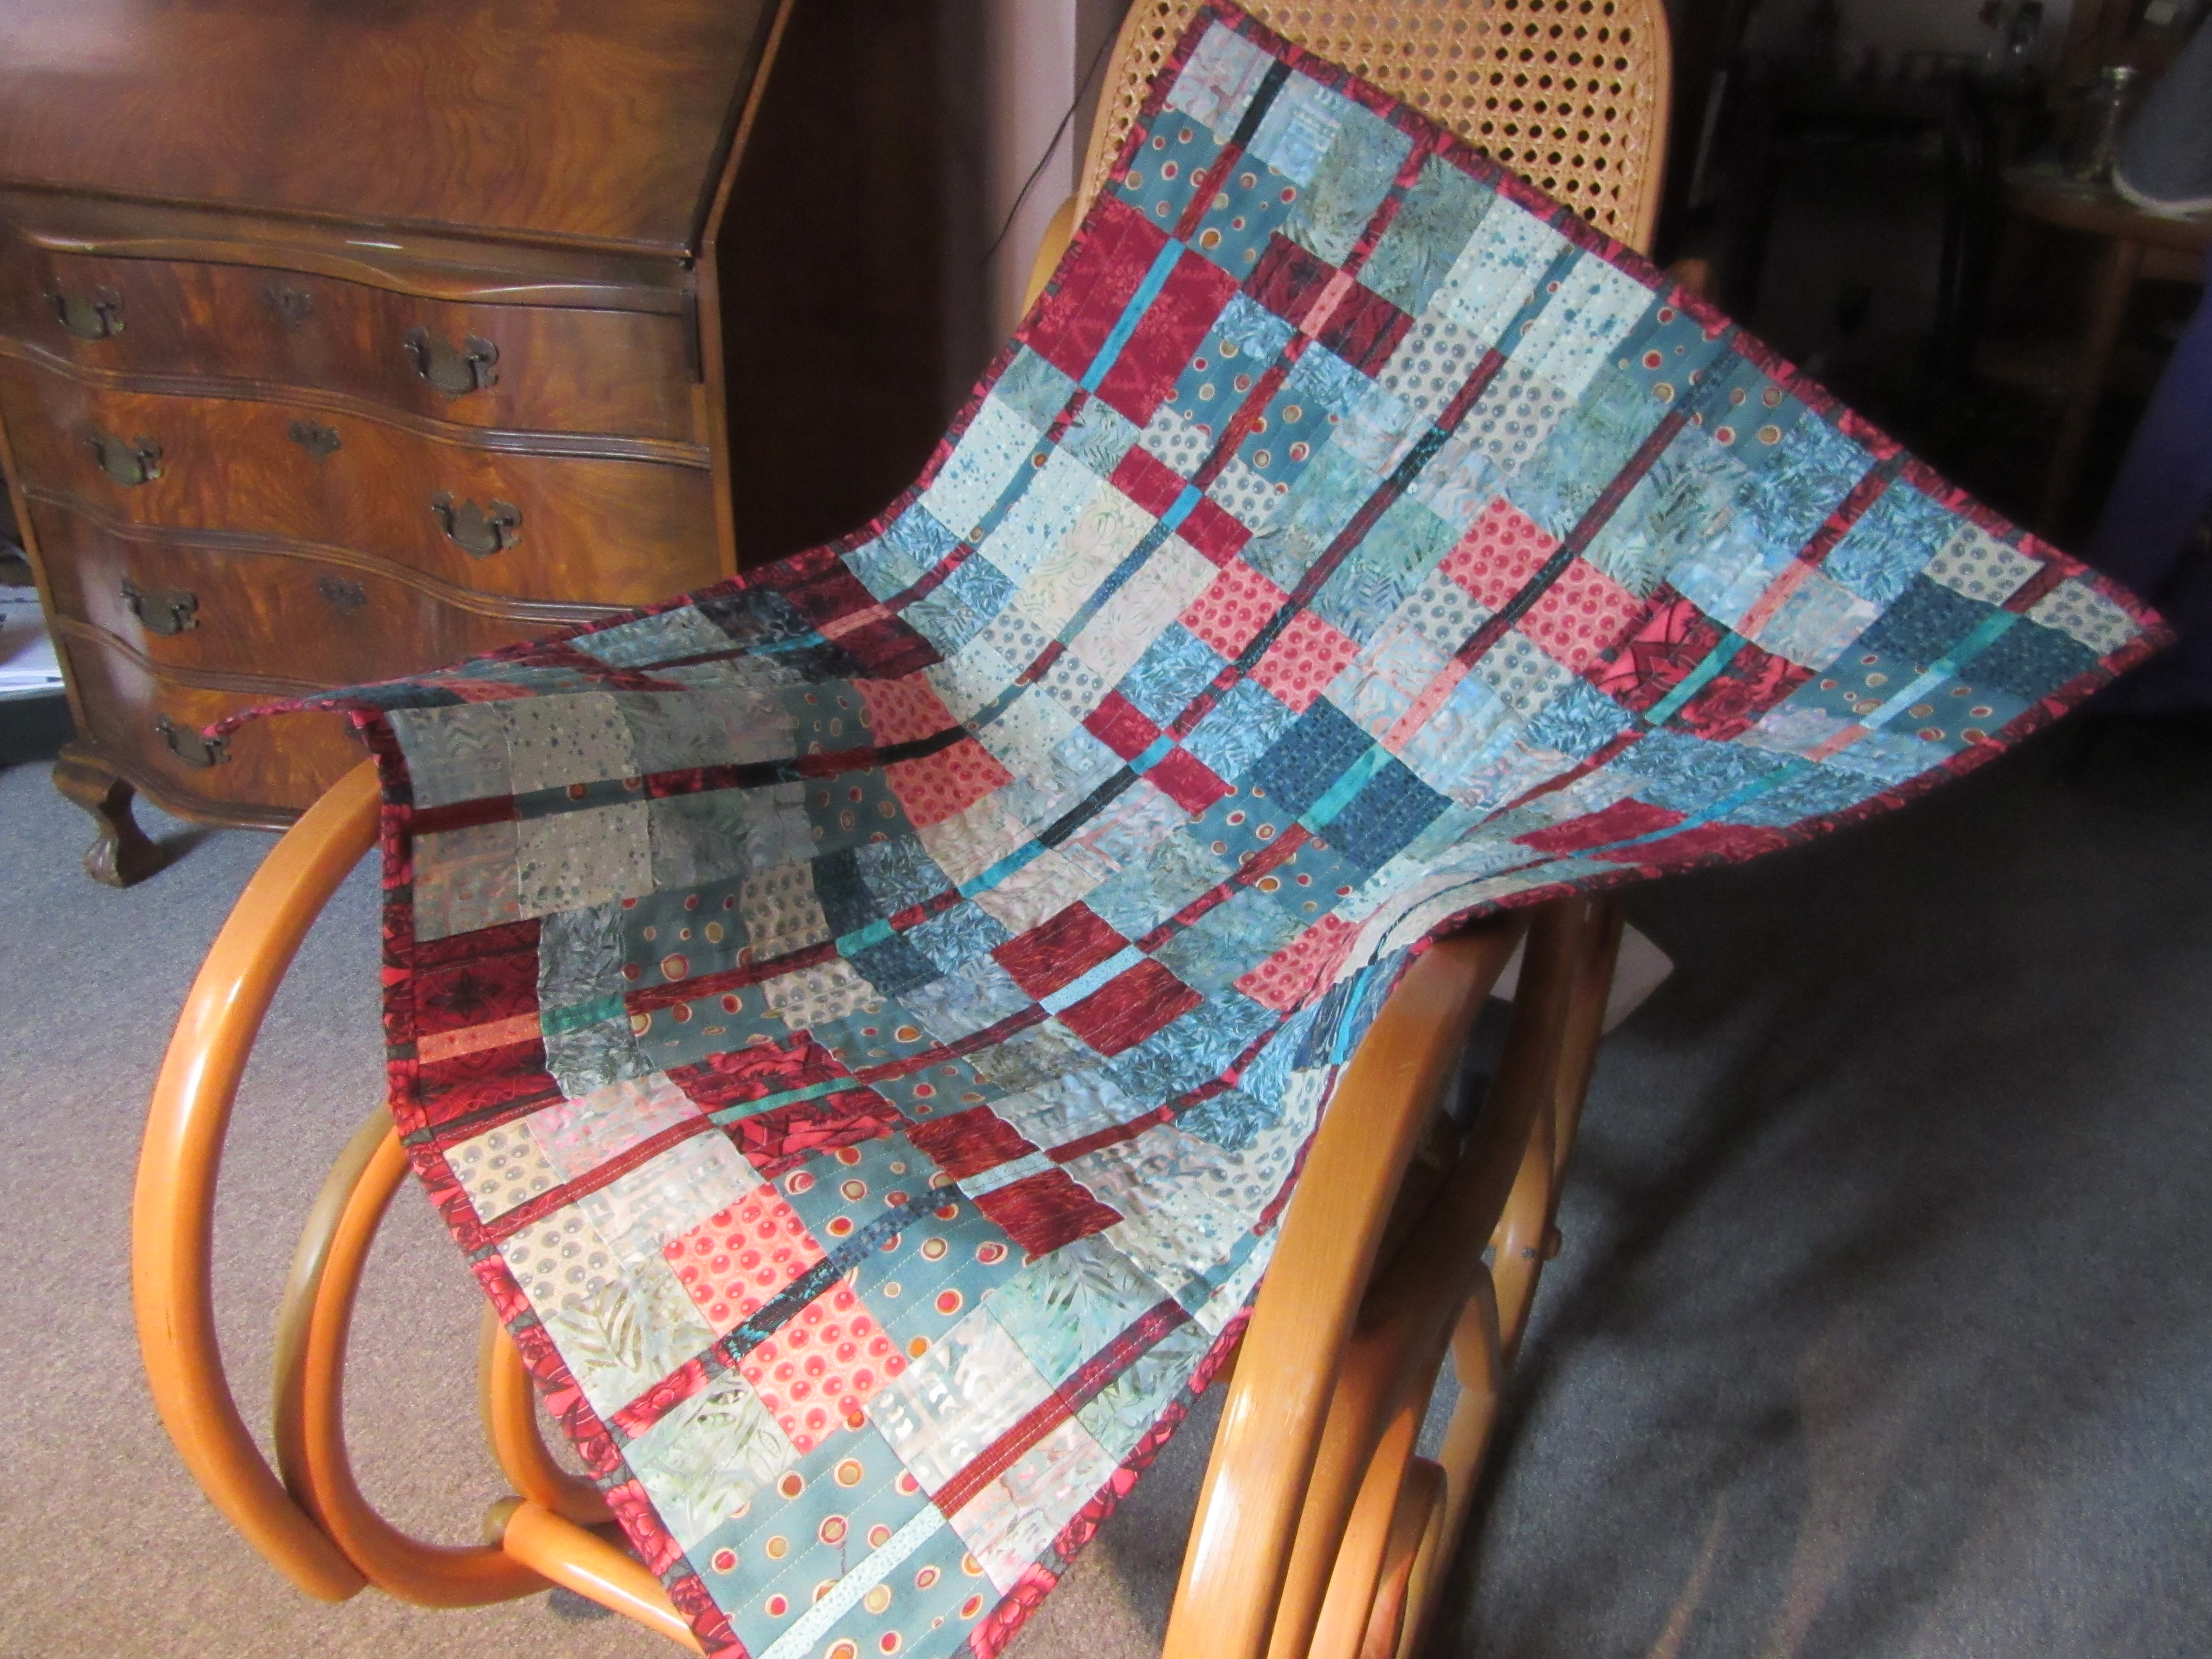
Driven to Abstraction
A few months later, I am still processing some of the ideas and techniques that I practiced in Dwayne’s class. My piece, “Driven to Abstraction”, is certainly one of the most adventurous and unusual wall hangings I have made. And quite a contrast to the next quilt I will be writing about!
Read Full Post »


 This one is called “Line and Texture”. The pattern can be found in a book titled “In Love with Squares and Rectangles” by Amy Walsh and Janine Burke. My colour palette was inspired by the Jinny Beyer fabric that I used for the binding. My mother had bought a tremendous amount of this discarded 2″ trim when she visited
 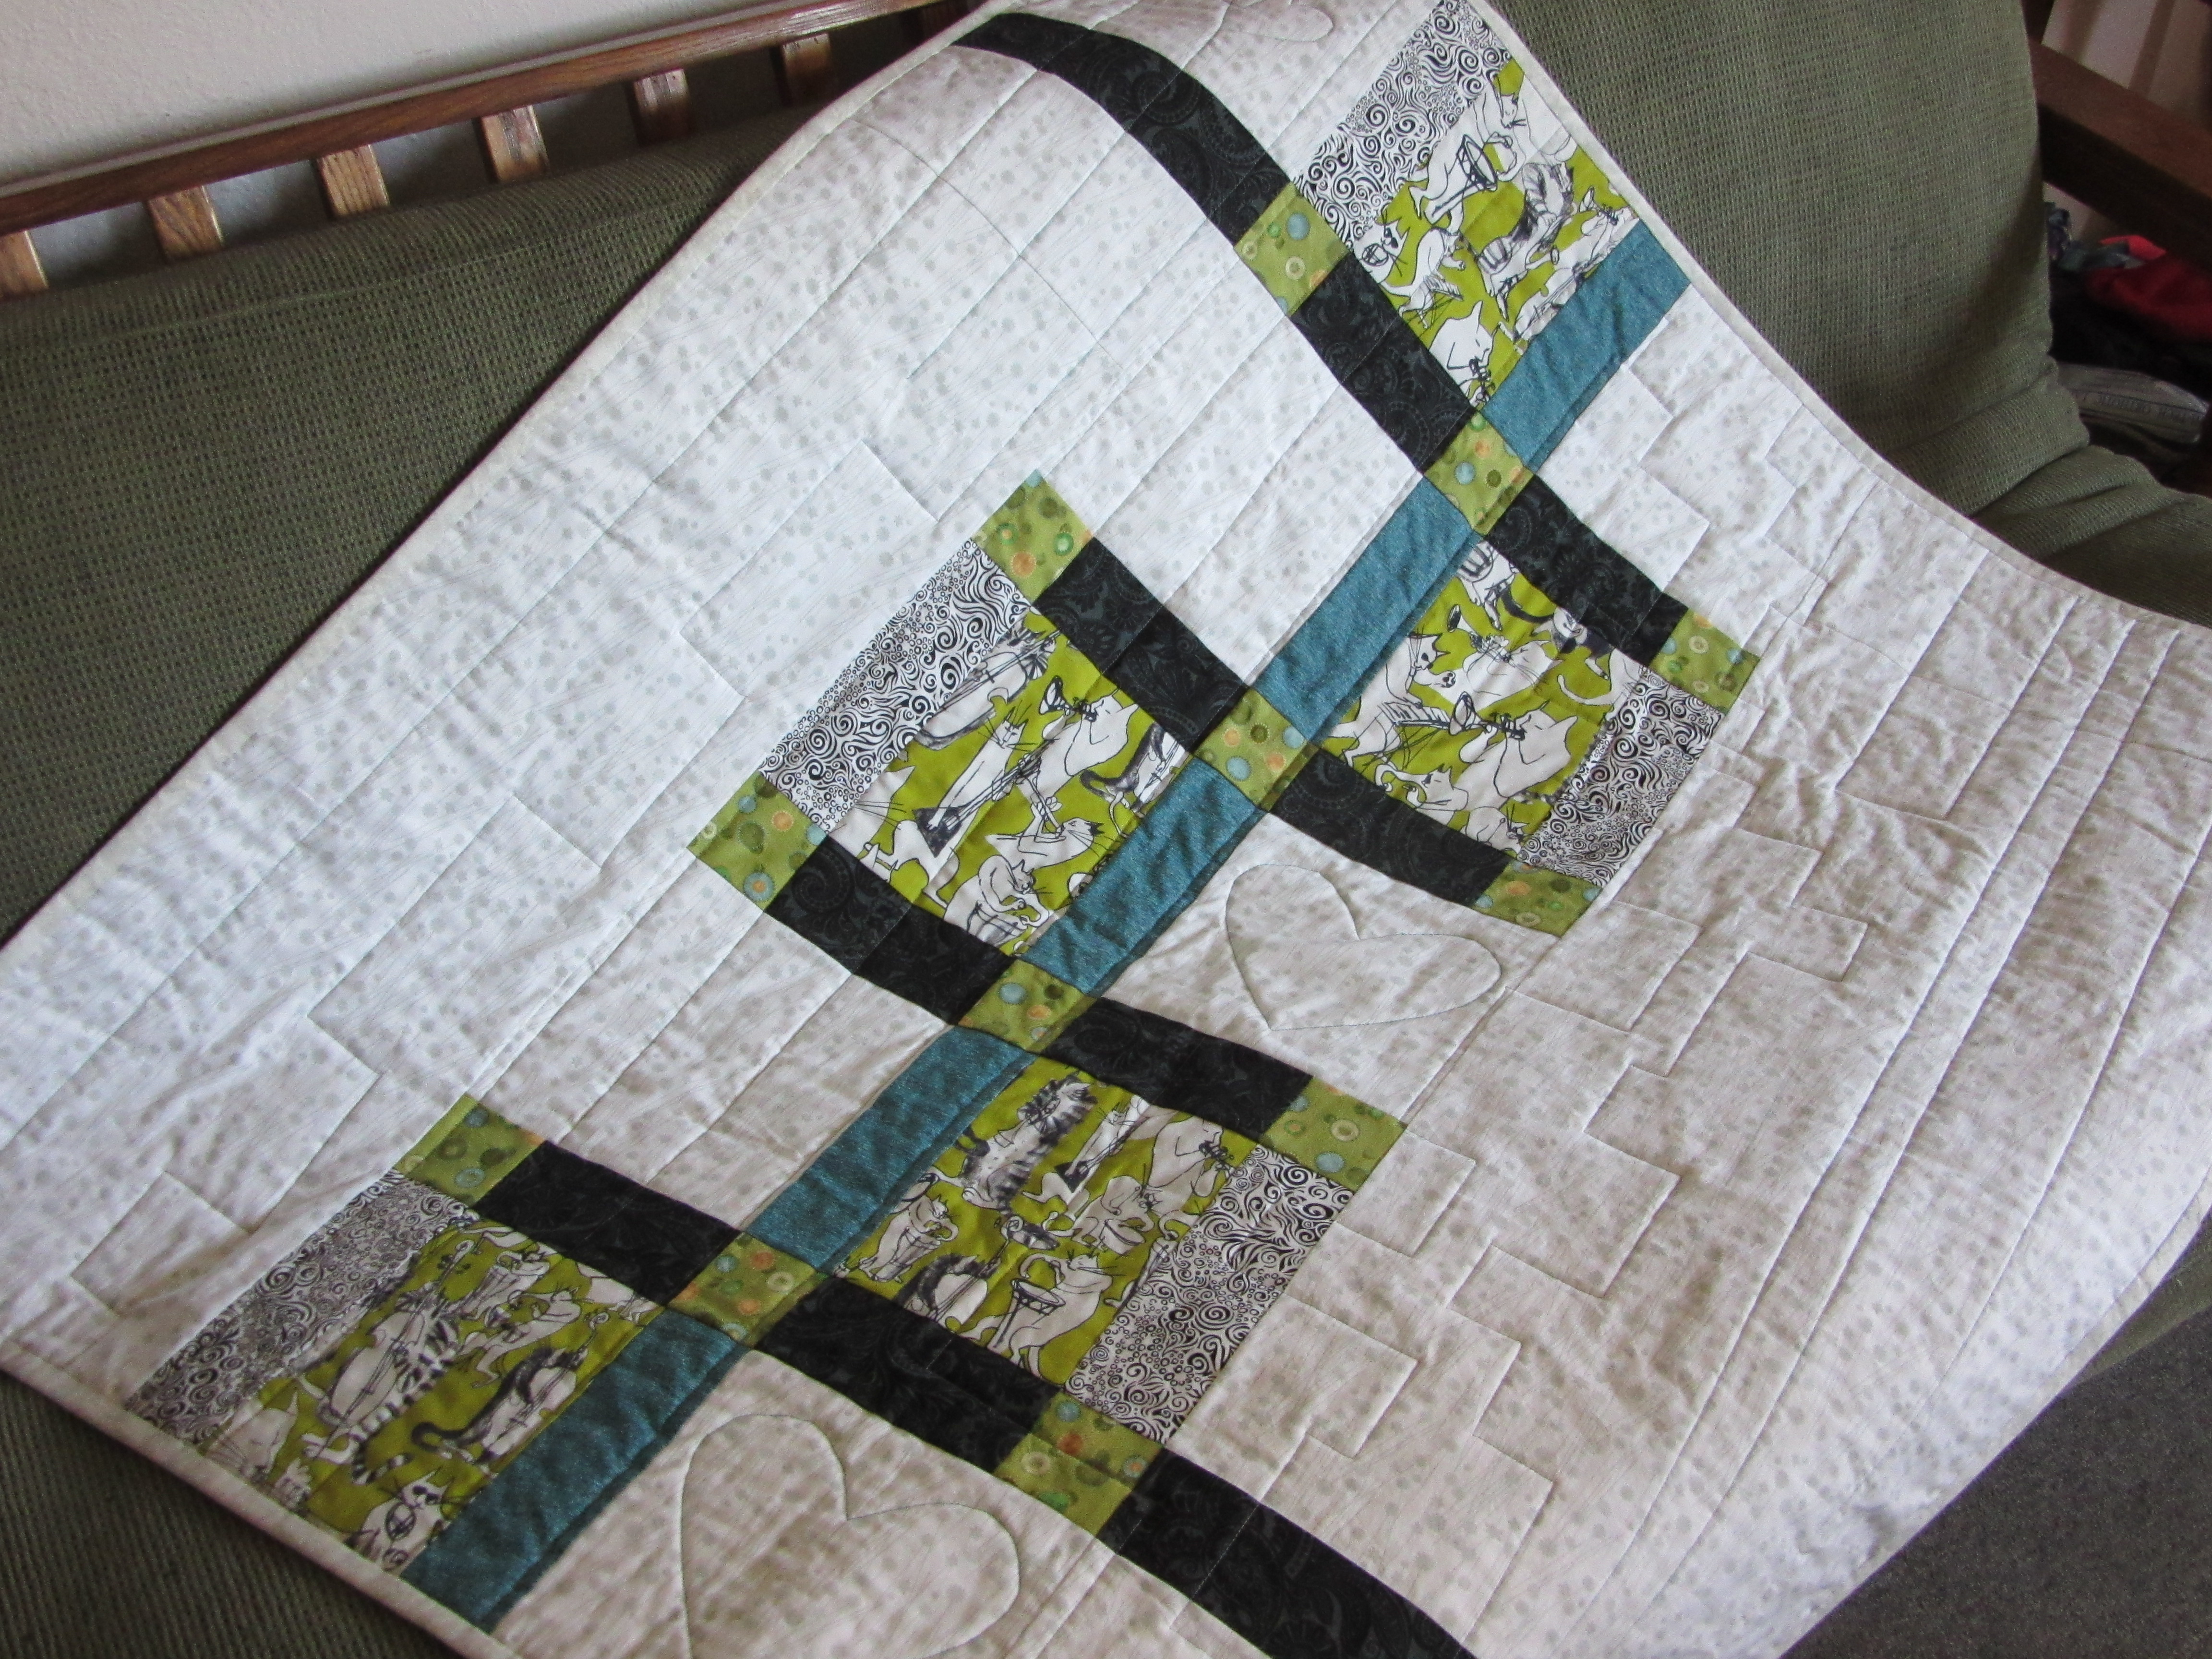 Here’s another wedding quilt (couch quilt size) that I made for a niece who is a jazz musician. I had only bought a fat quarter of the feature fabric – with her in mind – but I was able to create a modern quilt, using coordinating fabrics from my stash and focusing on lots of negative space. I got the idea for this quilt by googling modern quilt ideas. Here’s the
 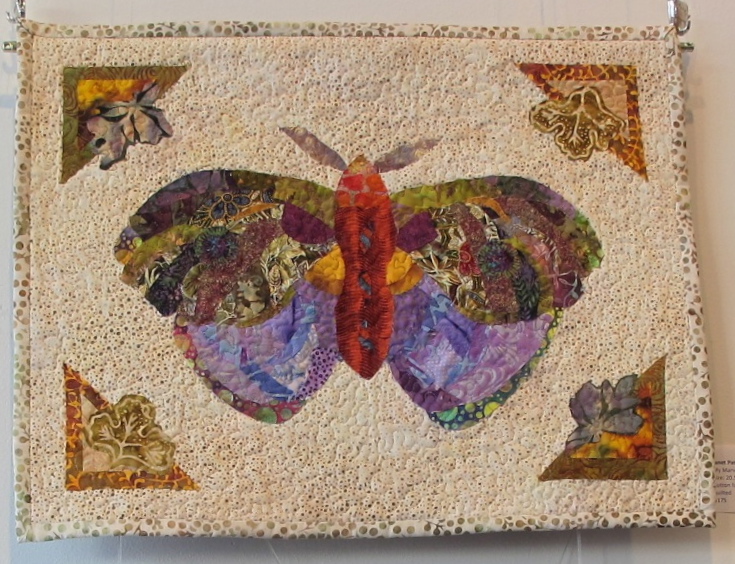 My Marvellous Mythical Moth was started in a workshop with the talented
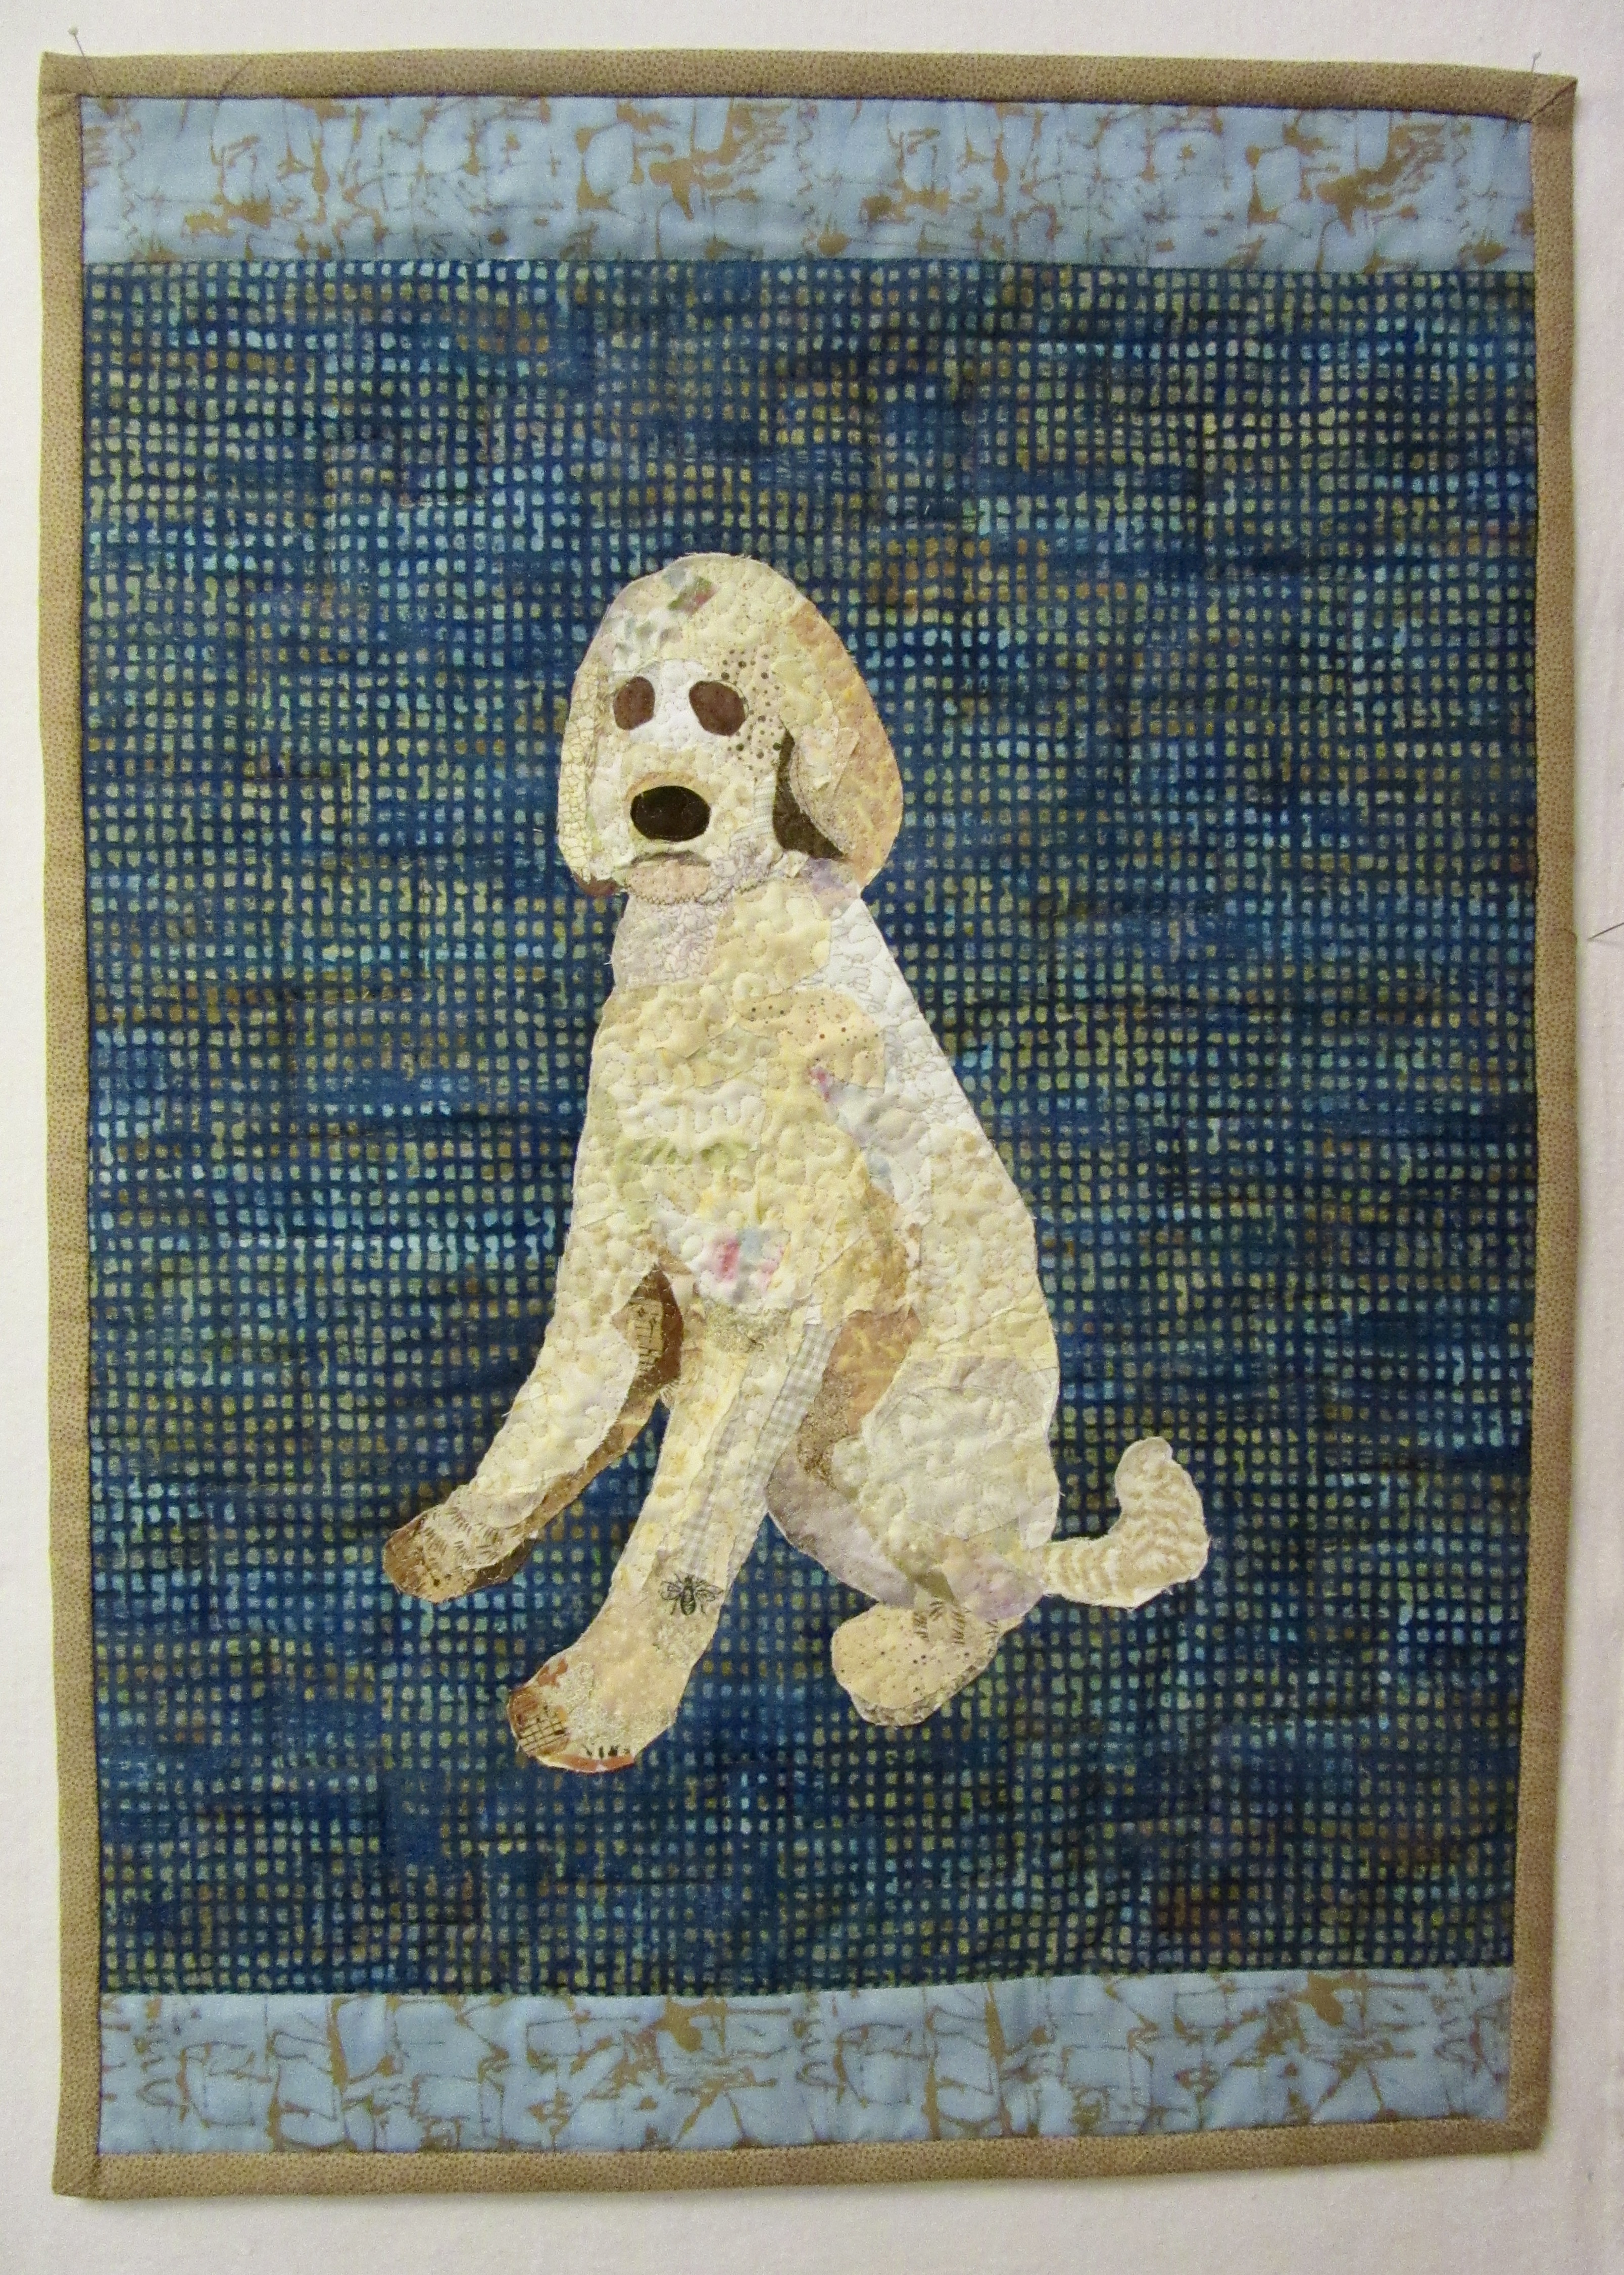


